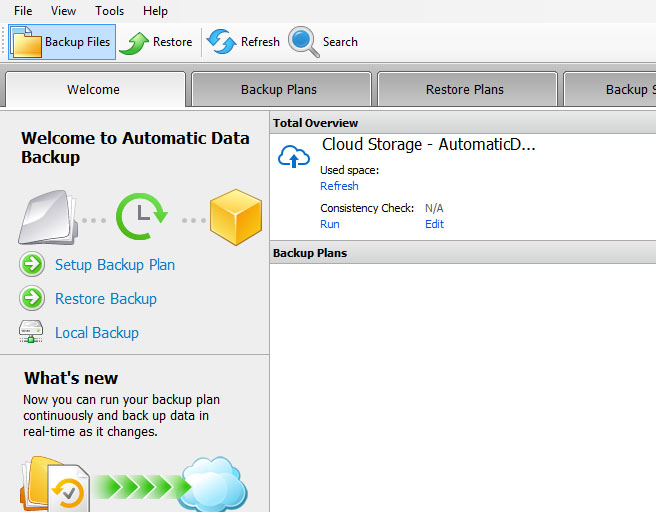
1 – Open the Automatic Data Backup Software Client you installed and click on Backup Files.
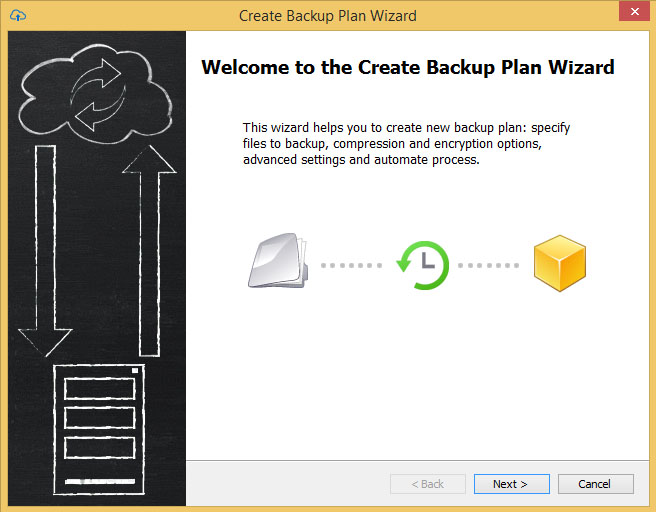
2 – At the Welcome to the Create Backup Plan Wizard click Next
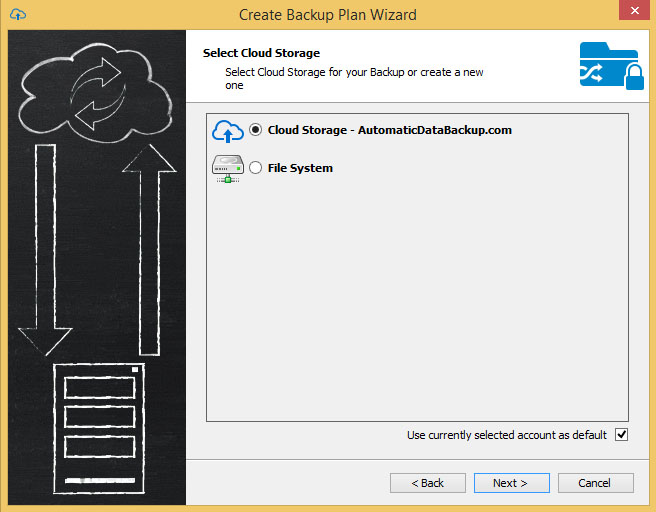
3 – Make sure the radio button for Cloud Storage is selected and click Next.
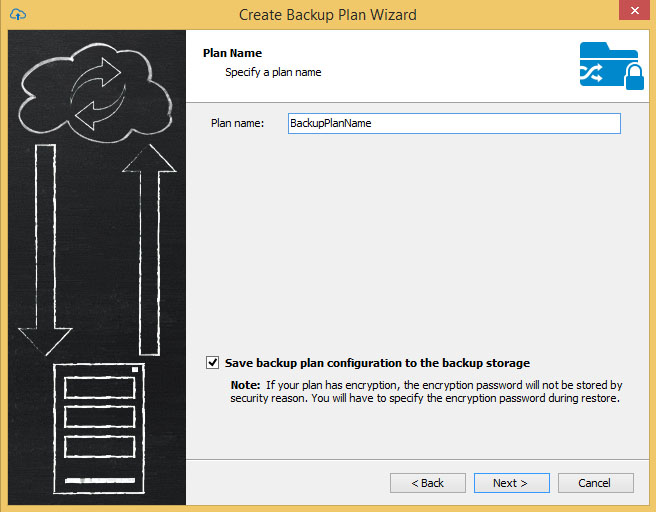
4 – In the Plan name field enter a name for your backup plan and click Next
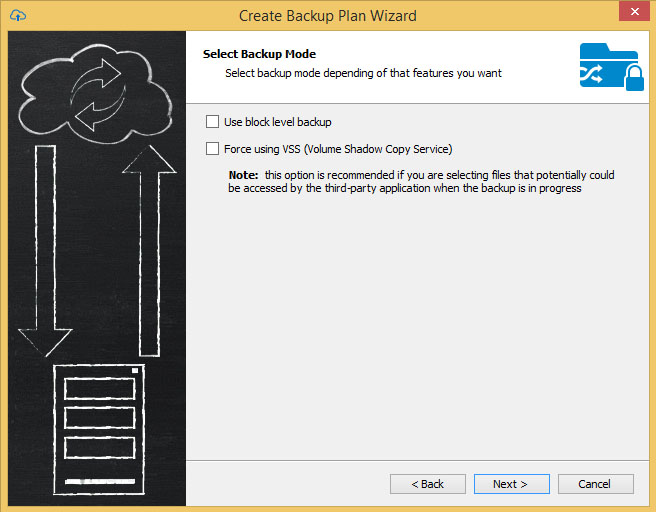
5 – Check the boxes Use block level backup and Force Using VSS. Click Next when you have both boxes checked.
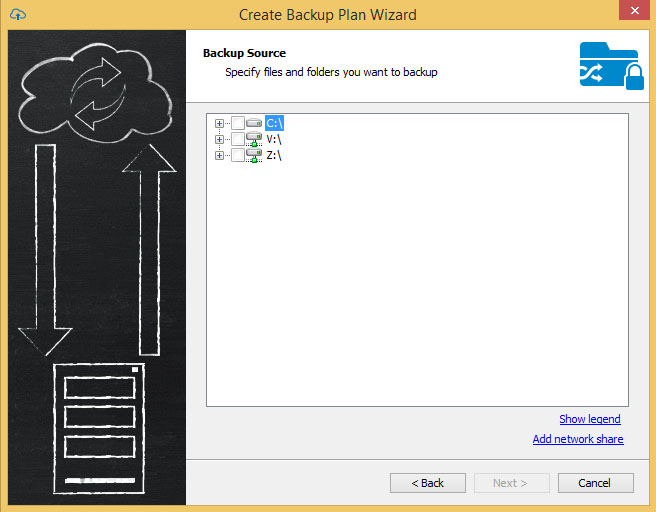
6 – You should now see all the drives listed on your computer. Select any files and folders you would like to make a backup of and click Next.
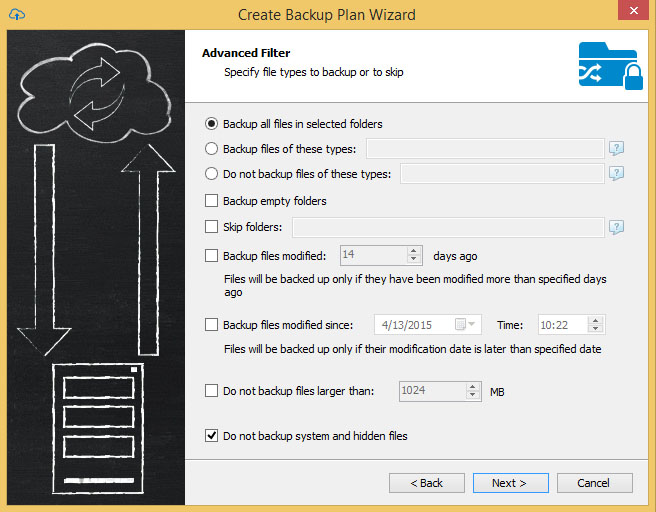
7 – From this section you can configure your backup for file types, dates modified, or if you don’t want to include certain files. If you want to backup everything you have selected mark the radio button Backup all files in selected folders and click Next.
8 – You can configure encryption for your backup if you would like. If you select to enable encryption select the encryption algorithm type and set a password. Make sure you keep this password in a safe place. If you forget the password Automatic Data Backup can’t recover this password for you.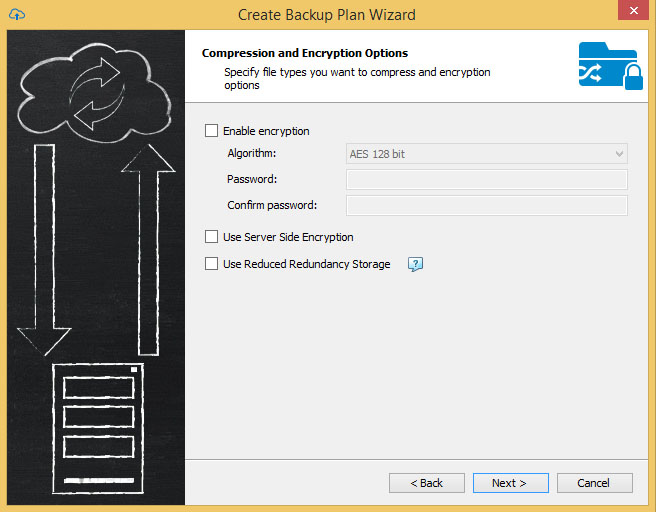
9 – In the purge options sections you can select the amount of time you would like to keep your backup on the cloud. Select the option to use defaults unless you want to change the amount of time your backup versions are stored.

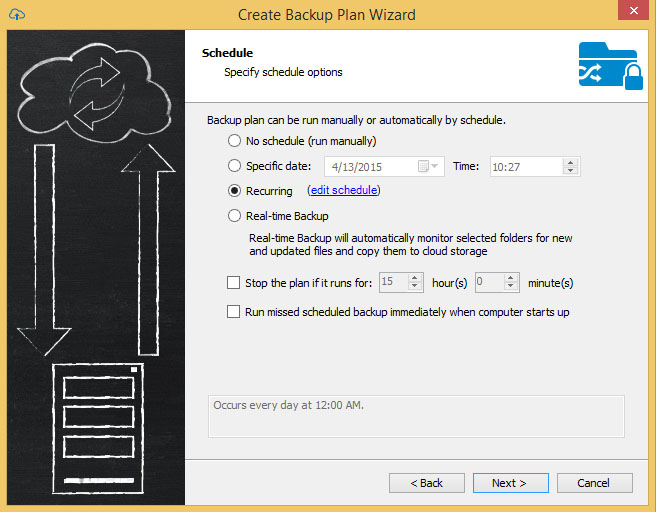
10 – Schedule your backup to run daily, monthly or in real-time. If you would like your backup to run monthly, weekly, or daily click on the Recurring radio button and set the time you would like your backup to run.

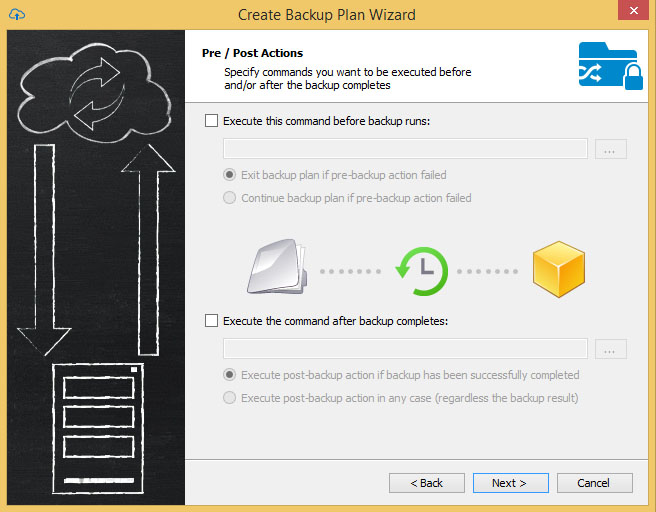
12 – From the Pre / Post Actions section you can schedule any scripts you have created. Most users leaves leaves options unchecked.
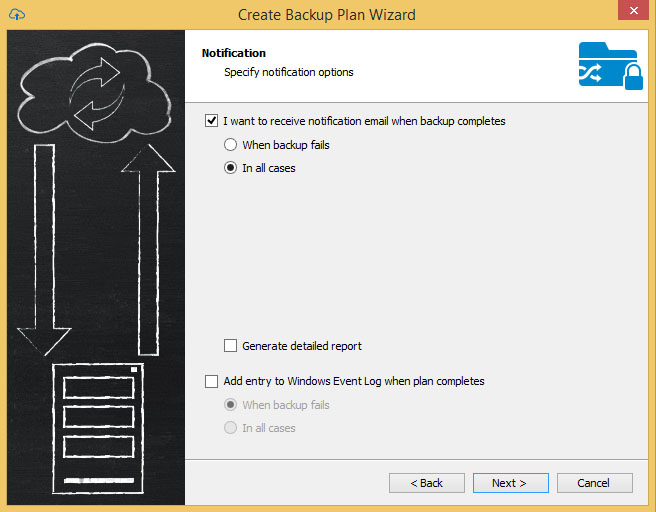
13 – In the notifications section you can select options to be notified when your backup completes and if your backup fails. Select the options for your backup and click Next.
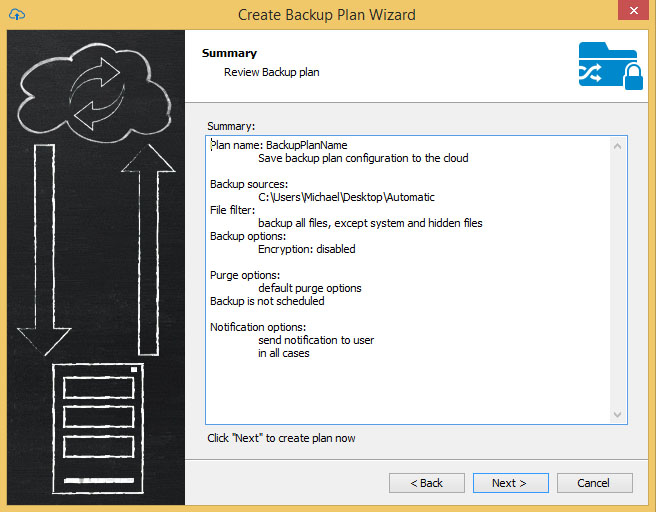
14 – You should now be at the backup summary page. Review the backup you have created and click Next.
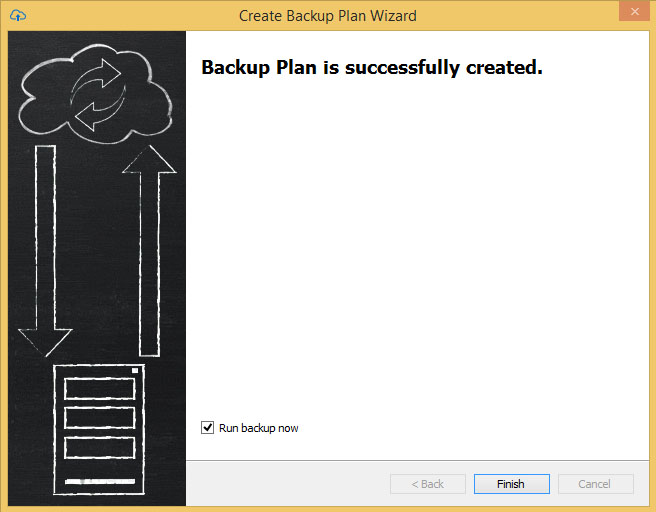
15 – You have created your backup plan. If you want to run the backup now check the box Run backup now and click finish. If you have scheduled your backup to run at a later time leave the box unchecked and click finish, the backup will run at the time you scheduled.